Hi guys, in this article I am going to show you how to install jenkins in ec2 instance.
Contents
Install Jenkins on AWS EC2
Jenkins is a self-contained Java-based program, ready to run out-of-the-box, with packages for Windows, Mac OS X, and other Unix-like operating systems. As an extensible automation server, Jenkins can be used as a simple CI server or turned into the continuous delivery hub for any project.
Prerequisites
If you don’t have an AWS account follow this step-by-step guide to create AWS account.
You can follow the same on your Linux distribution as well and if you have any doubts feel free to ask in the comment section.
If you use any cloud provider like AWS, Azure or GCP make sure you have created RedHat Linux distribution and make sure you have enabled internet access and port 8080 in security groups
EC2 RHEL 7.x Instance(Can be used any other instance)
- With Internet Access
- Security Group with Port 8080 open for internet
- Java v1.8.x
Install Java
We will be using open java as a demo, But you can get the latest version by clicking here
yum install java-1.8*OR
yum -y install java-1.8.0-openjdkConfirm Java Version
After installing java, check the java is installed or not by typing the below command
java -versionNow we have to set the Java Path in the .bash_profile
You have to find the java path in your Linux and most of the time the java store in this path /usr/lib/jvm/java-1.8*
You can check on your system by going into the path and typing pwd to know the current working directory or type the below command before saving it in .bash_profile
find /usr/lib/jvm/java-1.8* | head -n 3once you have the exact java home path go to /home/ec2-user/ and type vi /.bash_profile then any .bash_profile will open type I and paste the below code and make sure java-1.8.0-OpenJDK-1.8.0.191.b12-1.el7_6.x86_64 this version should be changed to your current java version you can find the file name in /usr/lib/jvm/

JAVA_HOME=/usr/lib/jvm/java-1.8.0-openjdk-1.8.0.191.b12-1.el7_6.x86_64

PATH=$PATH:$JAVA_HOME
Once you paste the above command press ESC and type “:wq!” Then you will get back to the home terminal.
To set it permanently update your .bash_profile
source ~/.bash_profile java -versionThe output should be something like this,
openjdk version “1.8.0_151”
OpenJDK Runtime Environment (build 1.8.0_151-b12)
OpenJDK 64-Bit Server VM (build 25.151-b12, mixed mode)

How to Install Jenkins In Ec2 Instance
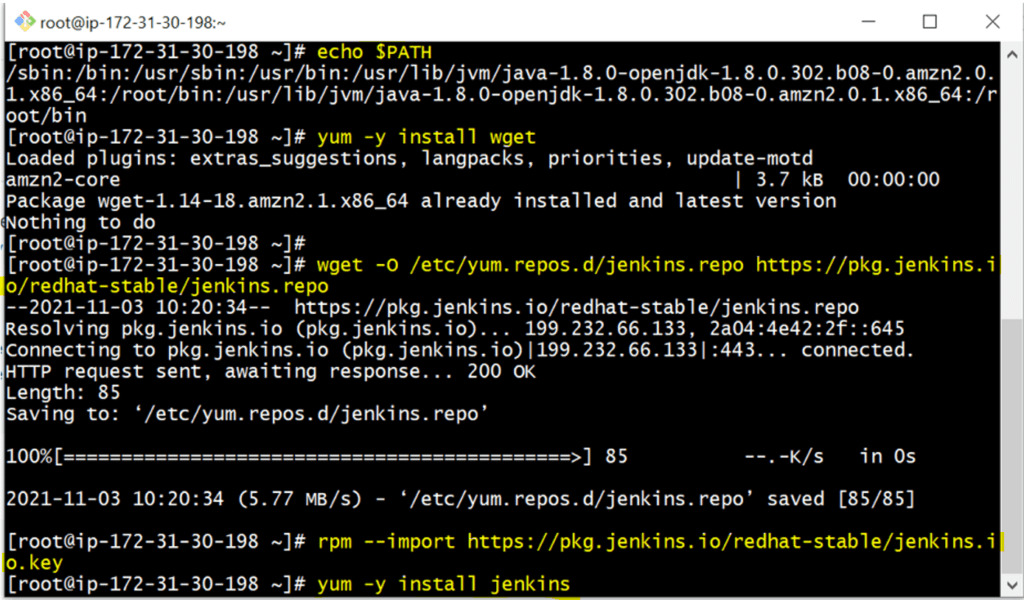
You can install Jenkins using the rpm or by setting up the repo. We will set up the repo so that we can update it easily in the future. Get the latest version of Jenkins from https://pkg.jenkins.io/redhat-stable/
yum -y install wget

wget -O /etc/yum.repos.d/jenkins.repo https://pkg.jenkins.io/redhat-stable/jenkins.repo

rpm --import <a href="https://pkg.jenkins.io/redhat-stable/jenkins.io.key">https://pkg.jenkins.io/redhat-stable/jenkins.io.key
If you are using the Amazon EC2 instance just like me you have to type the below command before installing the Jenkins
yum install epel-release

sudo amazon-linux-extras install epel
The above command is to the repository that provides ‘daemonize’

yum -y install jenkinsStart Jenkins
# Start jenkins service
systemctl start jenkins
# Setup Jenkins to start at boot,
systemctl enable jenkinsAccessing Jenkins
By default Jenkins runs at port 8080, You can access Jenkins at
http://YOUR-SERVER-PUBLIC-IP:8080Configure Jenkins
- The default Username is admin
- Grab the default password
- Password Location:/var/lib/jenkins/secrets/initialAdminPassword
to get the password to enter the below command in the home directory
cat /var/lib/jenkins/secrets/initialAdminPassword- Skip Plugin Installation; We can do it later
- Change admin password
- Admin > Configure > Password
- Configure java path
- Manage Jenkins > Global Tool Configuration > JDK.
- Create another admin user id.

Also Read:
